
Search Header Logo
1.2.1 Knife Skills & Safety

1.2.1 Knife Skills & Safety

Assessment

Presentation

Arts

9th - 12th Grade

Practice Problem

Easy

Created by

Cora Shields

Used 9+ times

FREE Resource

10 Slides • 12 Questions

1

Knife Skills & Safety
1.2.1

2

Learners will be able to...

  • identify the parts of a knife.

  • explain how to grip a knife.

  • identify the different types of a knife.

3

media

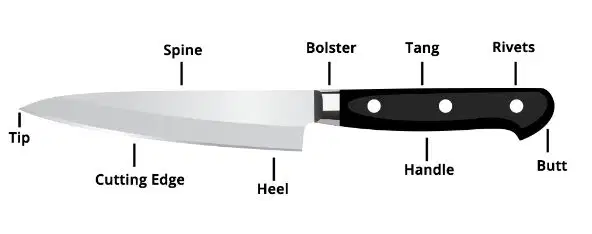
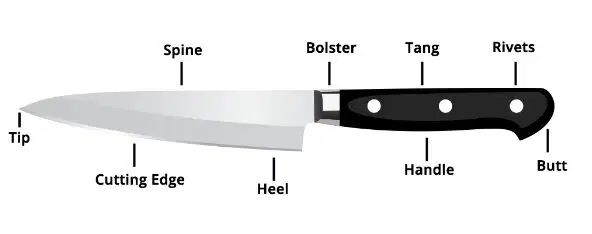
Parts of a Knife

4

Match

Question image

Match the following knife parts with the appropriate description.

First 1/3 of blade; used for fine-slicing to get a precise cut

sharpen regularly as this area works the hardest when chopping & slicing

top of blade; place hand on top to provide stability when mincing/finely chopping or slicing ingredients with hard outer edge

closest to the handle; strongest part; optimum area for shearing through tough ingredients

Tip

Cutting Edge

Spine

Heel

5

Match

Question image

Match the following knife parts with the appropriate description.

thick piece of metal that adds weight & counterbalance between handle & blade

part of blade that extends into handle & adds strength/balance to knife, not always visible

fasten sides together & holds blade in place by the tang

very back end of handle, helps position & stabilize grip on handle, AKA pommel

Bolster

Tang

Rivets

Butt

6

7

media

Your hand is completely behind the bolster, on the handle itself.


Generally used by beginning cooks or cooks with exceptionally small hands.


It is comfortable but offers only limited control when doing precision knife work.

Holding a Knife: Handle Grip

8

media

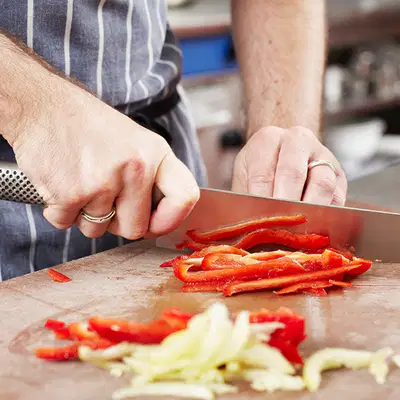
Thumb & forefinger should rest in front of the bolster (the area where the metal flares out to meet the handle) directly on the blade


Preferred grip for more experienced cooks


Offers better control and balance

Holding a Knife:
Blade Grip

9

media

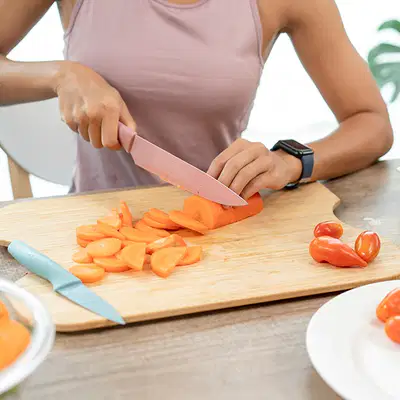
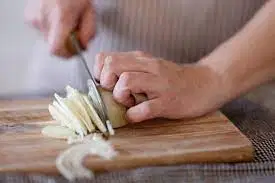
Place ingredient in a stable position, preferably with a flat-cut surface against the cutting board. Guide the knife blade against the food with your free hand.


Protect your fingertips by curling them inwards, using your knuckles to guide your knife.

Holding a Knife:
Claw Method

10

media

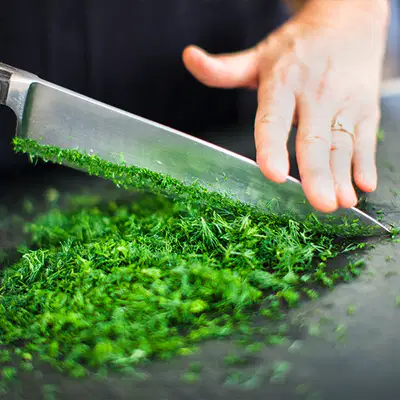
A fine mince requires the use of your free hand.


Place the tip of your knife on the cutting board, and hold it in place with your free hand. Rock the blade up and down to reduce the food to a fine mince.

Holding a Knife: Mincing

11

Match

Match the images with the appropriate grip name.

Handle Grip

Blade Grip

Claw Method

Mincing

12

Match

Match the ways to hold a knife with the appropriate description.

Your hand is completely behind the bolster, on the handle itself.

Thumb & forefinger should rest in front of the bolster (the area where the metal flares out to meet the handle) directly on the blade

Protect your fingertips by curling them inwards, using your knuckles to guide your knife.

Place the tip of your knife on the cutting board, and hold it in place with your free hand.

Handle Grip

Blade Grip

Claw Method

Mincing

13

Match

Match the following knives with the appropriate name.

Chef's Knife

Paring Knife

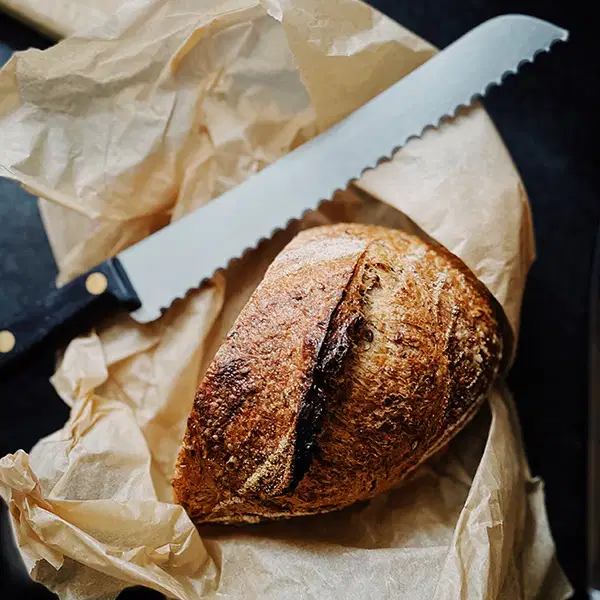
Serrated Knife

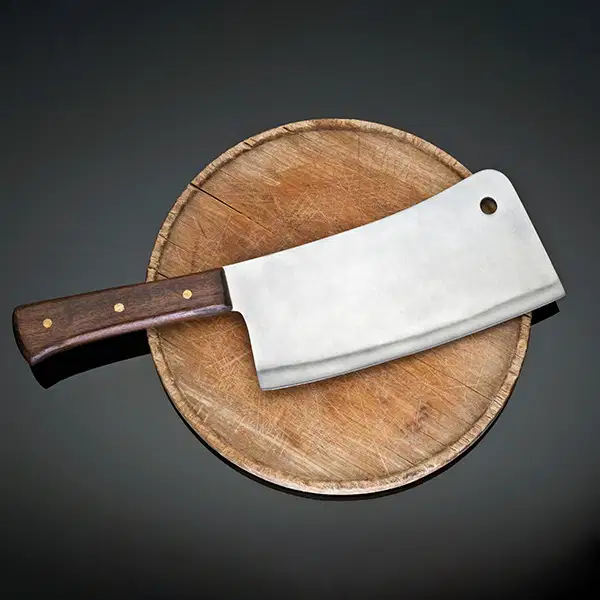
Cleaver Knife

14

Multiple Choice

Question image

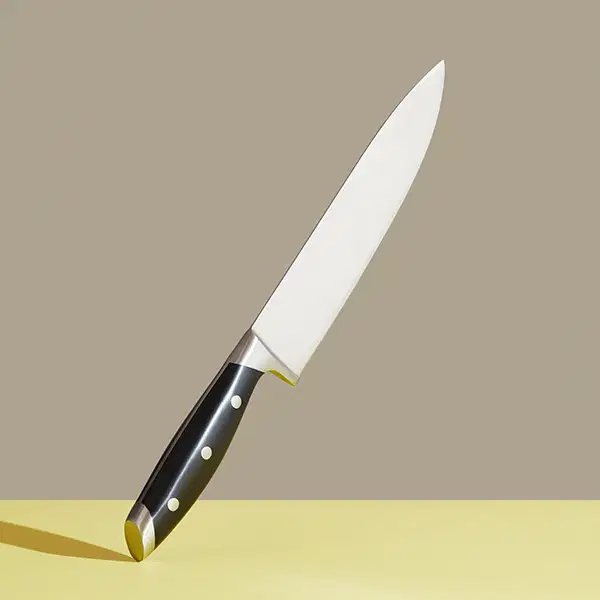
Which type of knife is a go-to tool for most daily kitchen tasks and is usually 8-10 inches in length?

1

Chef's Knife

2

Cleaver Knife

3

Paring Knife

4

Serrated Knife

15

Multiple Choice

Question image

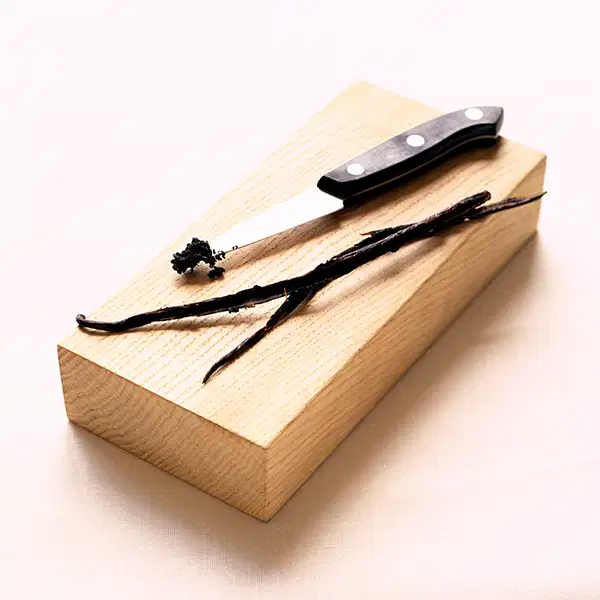
Which type of knife is used to carve fruits and vegetables and has a blade that is 3 1/2 inches in length?

1

Chef's Knife

2

Cleaver Knife

3

Paring Knife

4

Serrated Knife

16

Multiple Choice

Question image

Which type of knife has a jagged edge that grips and penetrates slippery exteriors, has a blade about 6 inches in length, and is also known as a bread knife?

1

Chef's Knife

2

Cleaver Knife

3

Paring Knife

4

Serrated Knife

17

Multiple Choice

Question image

Which type of knife has a thick, super sharp blade, can cut through bones and thick parts of meat easily, and can be used for cutting and chopping vegetables?

1

Chef's Knife

2

Cleaver Knife

3

Paring Knife

4

Serrated Knife

18

Review

  • identify the parts of a knife.

  • explain how to grip a knife.

  • identify the different types of a knife.

19

Labelling

Label the following parts of a knife.

Drag labels to their correct position on the image

Spine

Cutting Edge

Rivets

Handle

20

Match

Match the ways to hold a knife with the appropriate description.

Your hand is completely behind the bolster, on the handle itself.

Thumb & forefinger should rest in front of the bolster (the area where the metal flares out to meet the handle) directly on the blade

Protect your fingertips by curling them inwards, using your knuckles to guide your knife.

Place the tip of your knife on the cutting board, and hold it in place with your free hand.

Handle Grip

Blade Grip

Claw Method

Mincing

21

Match

Match the images with the appropriate descriptions.

Chef's Knife

Cleaver Knife

Serrated Knife

Paring Knife

go-to tool for most daily kitchen tasks

thick, sharp blade; cuts through bones

jagged edge grips & cuts tough exteriors

used to carve fruits & vegetables

22

Up Next:
Cutting Terms

Knife Skills & Safety
1.2.1

Show answer

Auto Play

Slide 1 / 22

SLIDE