
NEW
Font size
 Worksheets
How to Take a Photo with a Pinhole Camera
Total questions: 20
Worksheet time: 10mins
According to the instructions, what should you do if you are not sure that your camera is empty?
Open it immediately
Go into the darkroom to check
Add masking tape
Close the camera
According to the instructions, how many pieces of masking tape should you roll into a circle and place inside the pinhole camera?
Two pieces
One piece
Three pieces
Four pieces

Where should the rolled pieces of masking tape be placed inside the pinhole camera?
On the side with the pinhole
On the side without the pinhole
On the lid
Outside the box
According to the instructions, where should you take your entire camera before placing the photo paper?
Outside
Darkroom
Kitchen
Living room
What side of the photo paper should face out when placing it in the camera according to the instructions?
Matte side
Shiny (emulsion) side
Both sides
Any side

Fill in the blank: Before you exit the darkroom, you should close the camera and make sure the _______ is closed to keep out the light.
shutter
lens
aperture
tripod
According to the instructions, what should you do first to keep the camera steady when taking a photo with a pinhole camera?
Open the shutter
Set the camera down on a solid surface facing the subject
Begin timing the photo
Close the shutter
What is the purpose of opening the shutter in a pinhole camera according to the instructions?
To let the light in and capture the image on the photo paper
To keep the camera steady
To close the camera
To time the photo
Fill in the blank: After opening the shutter and letting the light in, you should begin ______ the photo.
timing
editing
printing
framing

According to the instructions, when should you close the shutter?
Before opening the shutter
When the time is completed
After setting the camera down
Before timing the photo
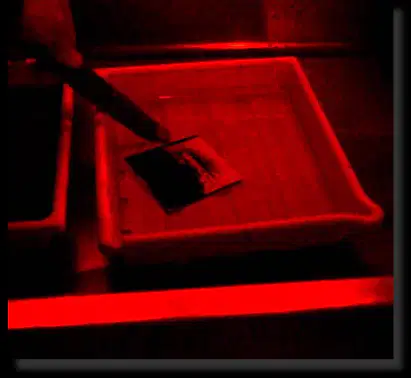
According to the instructions, what is the first chemical used to develop a photograph in the darkroom?
Fixer
Water
Developer
Stop bath
How long should the photograph be left in the fixer according to the instructions?
1-1 ½ minutes
30 seconds
5 minutes
5-10 minutes
Fill in the blank: After the developer and stop bath, the next chemical used is the _______.
fixer
toner
emulsifier
bleach
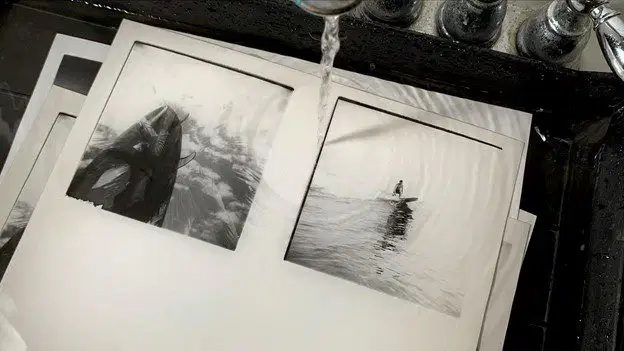
According to the instructions, how long should the photograph be washed in water at the end of the process?
5-10 minutes
1-2 minutes
20-30 minutes
30-60 seconds
Arrange the following steps in the correct order for developing a photograph: developer, fixer, water, stop bath.
developer, stop bath, fixer, water
developer, fixer, stop bath, water
fixer, developer, stop bath, water
stop bath, developer, fixer, water
According to the instructions, what should you do if the image is too light?
Add time.
Remove the paper immediately.
Decrease the exposure time.
Use a different developer.
According to the instructions, what should you do if the image is too dark?
Reduce the time.
Increase the temperature.
Use a different camera.
Add more chemicals.
What should you do with every pinhole photo you take?
Keep every photo you take, even if it is not successful.
Delete every photo you take immediately.
Only keep photos that are perfect.
Share every photo you take online.
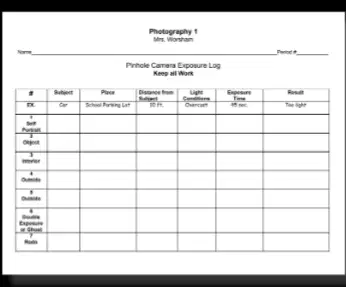
What chart should you fill out after taking your pinhole photos?
Pinhole photo chart (Pinhole Camera Exposure Log).
Color mixing chart.
Weather observation chart.
Camera parts checklist.
Which of the following is NOT a step mentioned in the instructions for processing pinhole photos?
Adjust the timing for the next photo
Throw away unsuccessful photos
Hang the photo up to dry
Fill out the Pinhole photo chart

